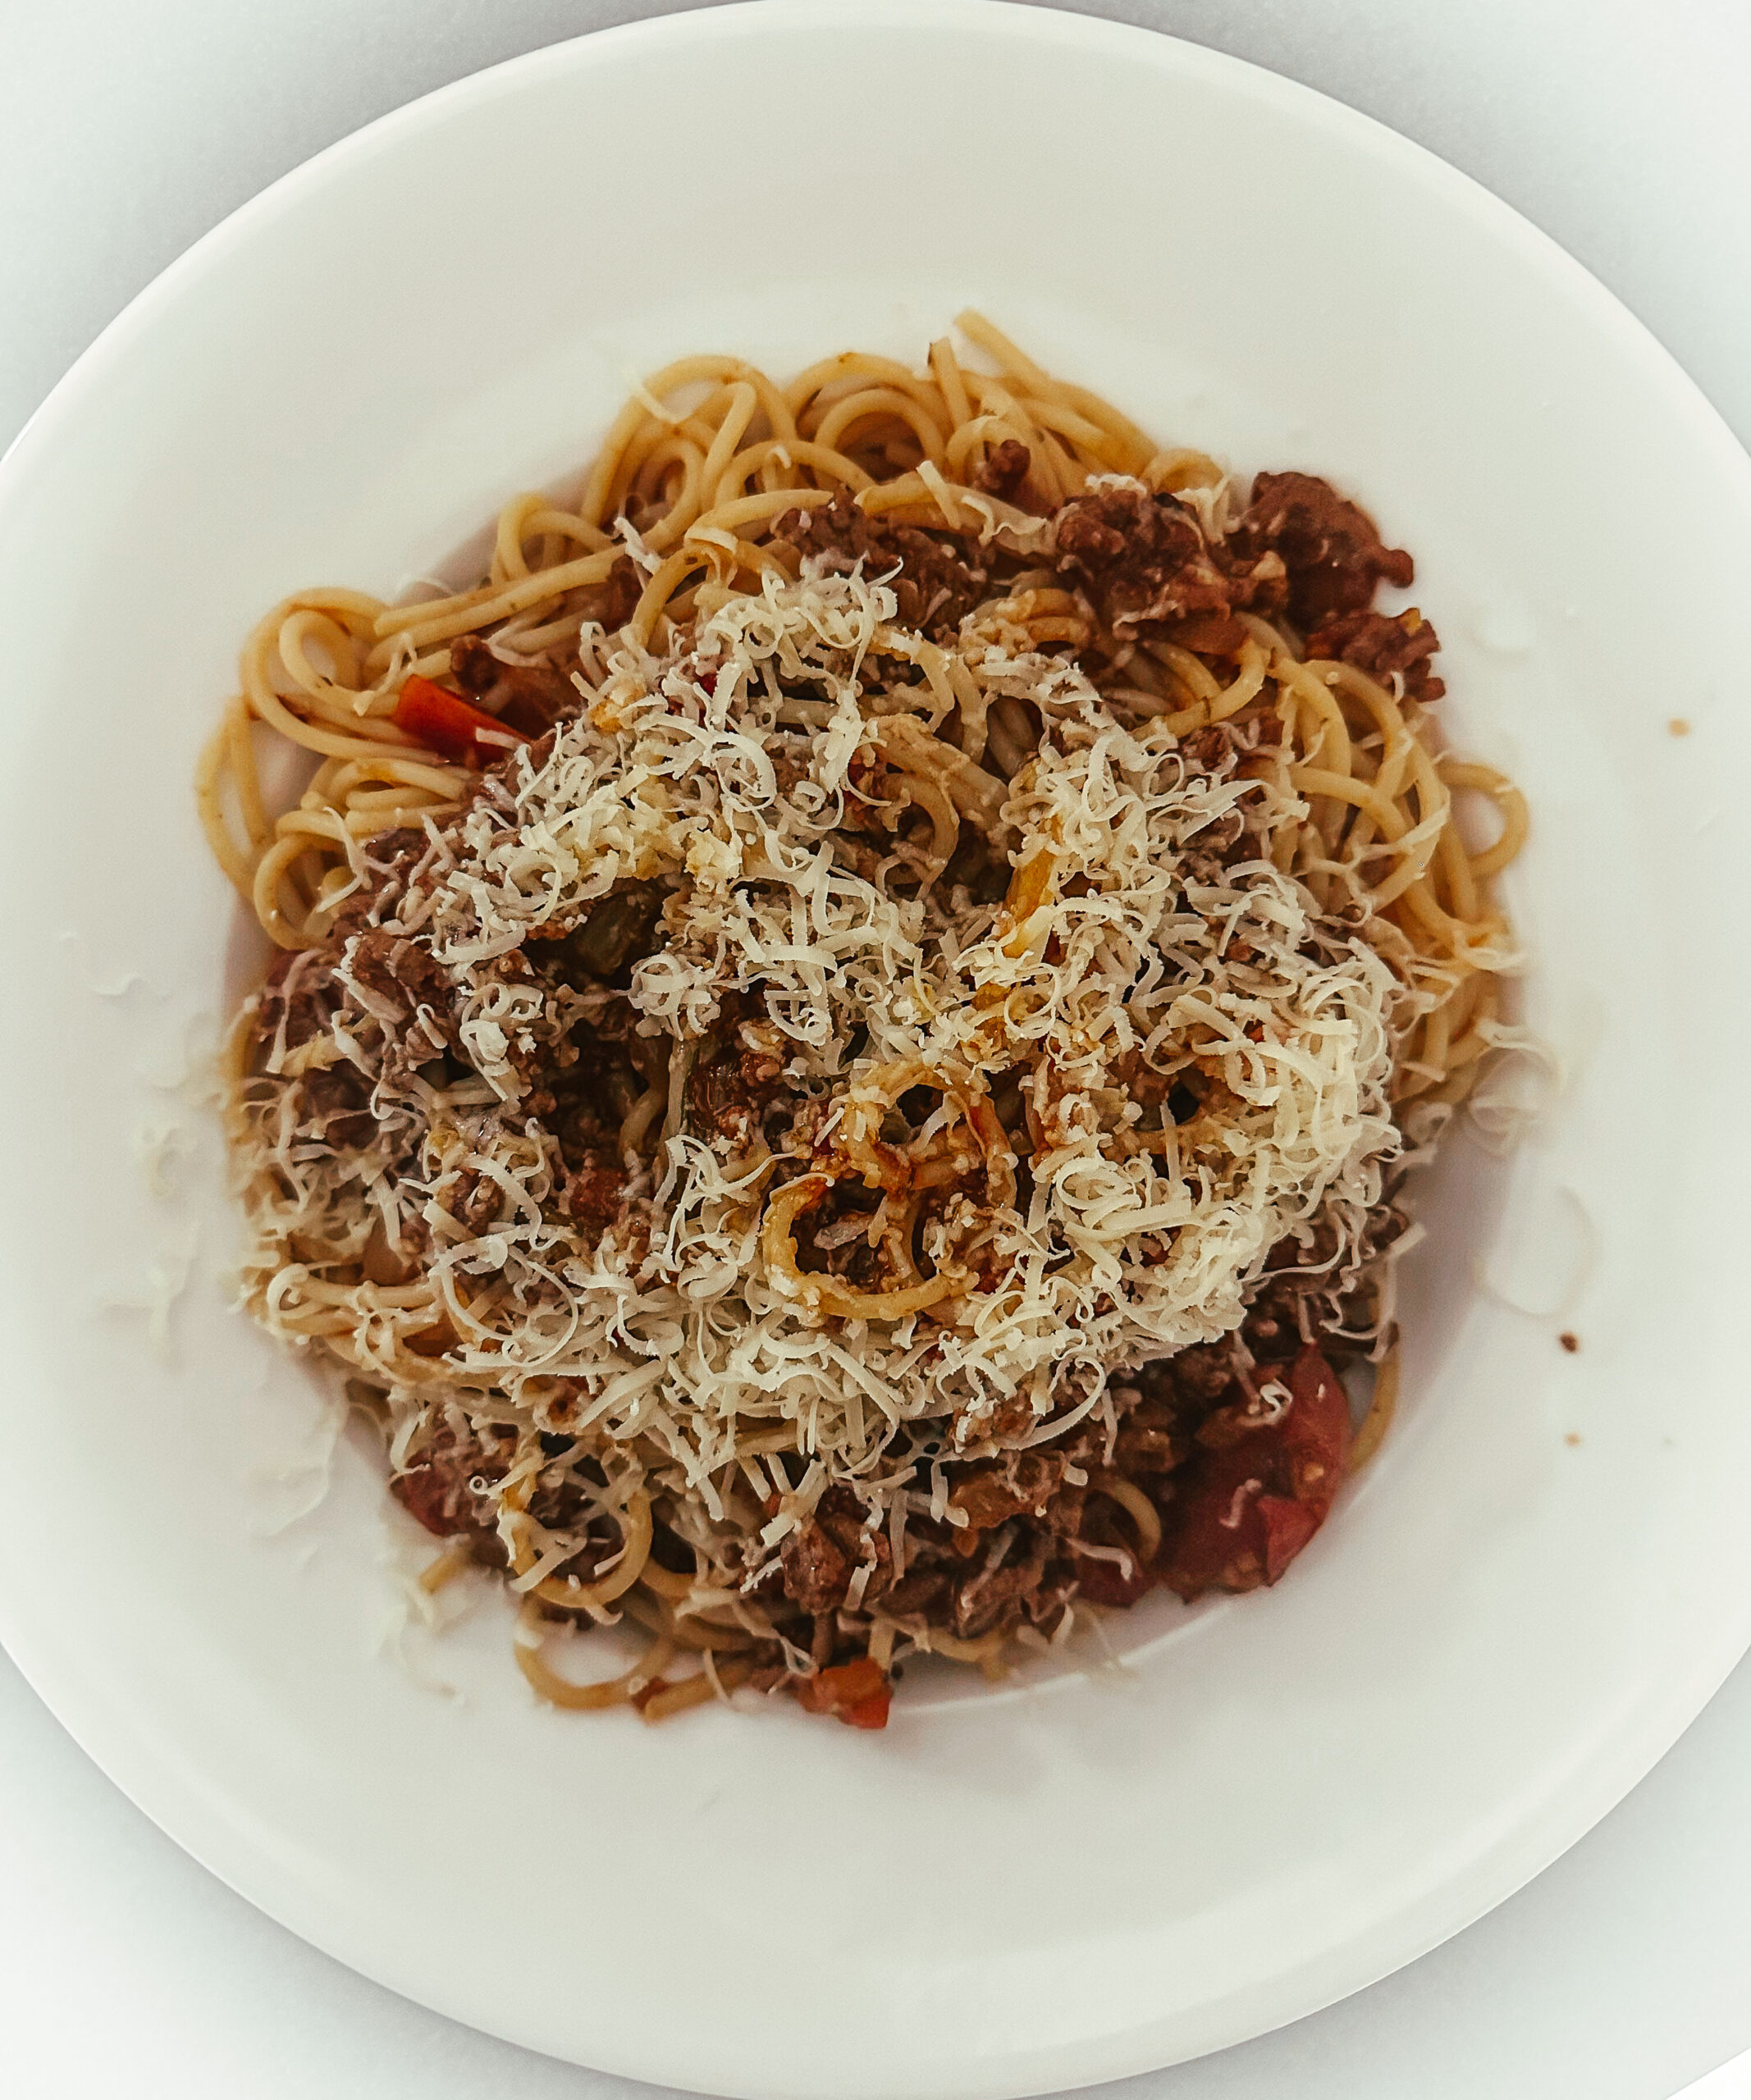
Spaghetti Bolognese

Spaghetti Bolognese is a classic Italian dish that has become a favorite worldwide. Here’s an authentic recipe for spaghetti bolognese that will take you straight to Italy.

Ingredients for spaghetti bolognese:

  • 1 lb ground beef (preferably lean)
  • 1 onion, diced
  • 3 garlic cloves, minced
  • celery stalk, diced
  • 1 carrot, diced
  • Tin of crushed tomatoes
  • 2 tbsp tomato paste
  • 1 tsp dried thyme
  • 1/2 cup red wine
  • 1/2 cup beef stock
  • 1 tsp dried oregano
  • 1 tsp dried basil
  • Salt and pepper to taste
  • 1 lb spaghetti
  • Parmesan cheese, grated (optional)

Instructions:

  1. Heat a large skillet over medium-high heat. Add the ground beef and cook, breaking it up with a wooden spoon, until browned, about 8-10 minutes.
  2. Remove the beef from the skillet and set it aside. Drain any excess fat from the skillet.
  3. Add the onion, garlic, celery, and carrot to the skillet. Cook, stirring occasionally, until the vegetables are soft and the onion is translucent, about 5 minutes.
  4. Add the beef back to the skillet and stir to combine with the vegetables.
  5. Add the crushed tomatoes, tomato paste, red wine, beef stock, oregano, basil, thyme, salt, and pepper. Stir well to combine.
  6. Bring the mixture to a boil, then reduce the heat to low and let it simmer for about an hour, stirring occasionally.
  7. While the sauce is simmering, cook the spaghetti according to the package instructions. Make sure to salt the water before adding the spaghetti.
  8. Once the sauce is done, taste and adjust the seasoning as needed.
  9. Once the spaghetti is cooked, drain it and add it to the saucepan with the bolognese sauce. Toss everything together until the spaghetti is coated in the sauce.
  10. Serve the spaghetti bolognese hot, topped with grated parmesan cheese (if desired). Enjoy!

Note: Traditional bolognese sauce is meant to be quite thick, so if you find that your sauce is too thin, you can let it simmer for longer to thicken it up. Additionally, if you prefer a spicier sauce, you can add a pinch of red pepper flakes to the saucepan when you add the other spices.

Wholesome Indulgence: The Soul-Warming Magic of Rustic Beef Stew

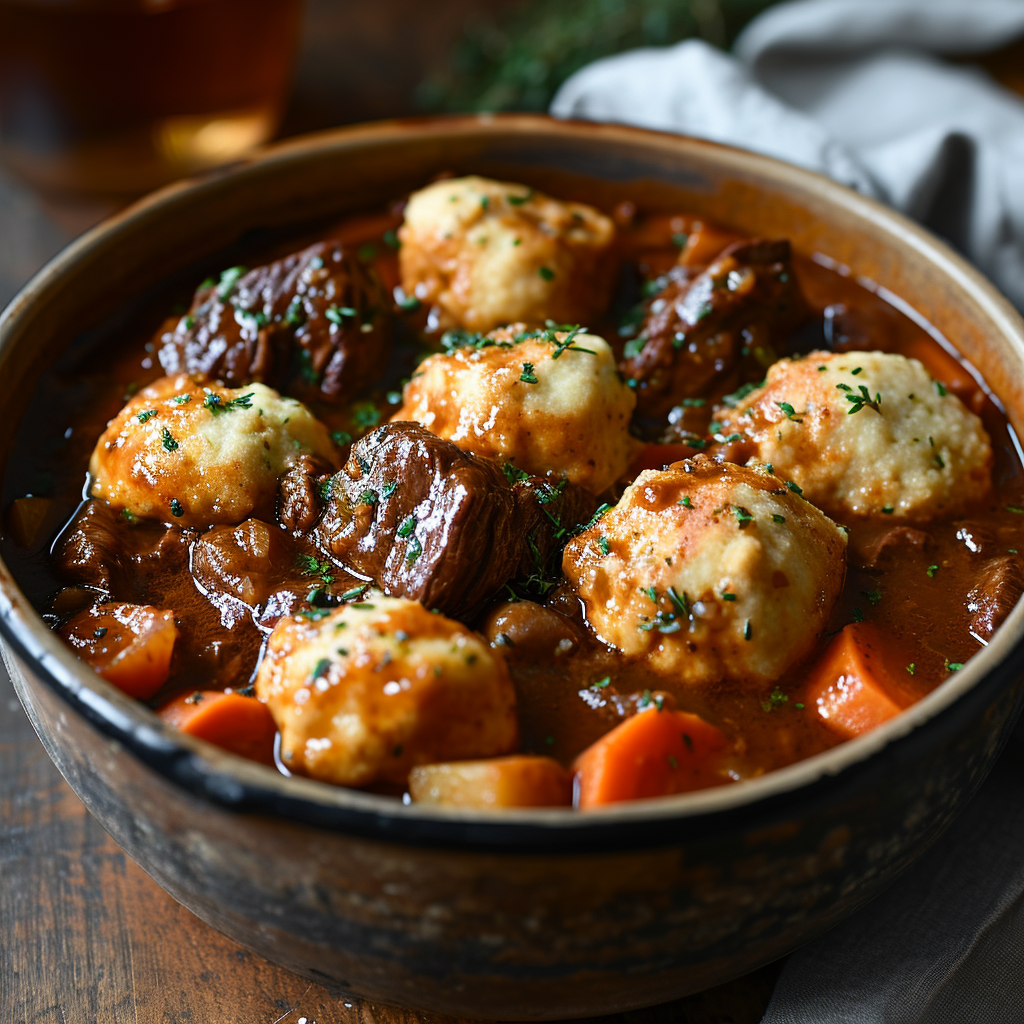
beef stew and dumplings

Classic Beef Stew and Dumplings Recipe

This hearty and comforting classic beef stew with dumplings is a traditional dish that’s perfect for a cosy dinner. Rich, flavourful, and filling, it’s sure to be a family favourite.

Ingredients for Beef Stew:

  • Beef Stew:
    • 800g stewing beef, cut into cubes
    • 3 tbsp plain flour
    • 2 tbsp vegetable oil
    • 2 onions, chopped
    • 3 carrots, peeled and sliced
    • 3 celery stalks, sliced
    • 2 garlic cloves, minced
    • 500ml beef stock
    • 400g tin chopped tomatoes
    • 2 tbsp tomato paste
    • 1 tsp Worcestershire sauce
    • 2 bay leaves
    • 1 tsp dried thyme
    • Salt and black pepper, to taste

Ingredients for Dumplings:

  • Dumplings:
    • 225g self-raising flour
    • 100g suet
    • Cold water
    • Salt, to taste

Method:

  1. Prepare the Beef:
    • Toss the beef cubes in flour seasoned with salt and pepper.
    • In a large pot or casserole, heat 1 tablespoon of oil over medium-high heat. Brown the beef in batches, then set aside.
  2. Cook the Vegetables:
    • In the same pot, add another tablespoon of oil. Sauté onions, carrots, and celery until softened.
    • Add garlic and cook for another minute.
  3. Make the Stew:
    • Return the beef to the pot. Add beef stock, chopped tomatoes, tomato paste, Worcestershire sauce, bay leaves, and thyme.
    • Bring to a boil, then reduce heat to low. Cover and simmer for about 1.5 to 2 hours, until the beef is tender.
  4. Prepare Dumplings:
    • While the stew simmers, make the dumplings. Mix the self-raising flour and suet with a pinch of salt. Add enough cold water to form a soft but firm dough.
    • Roll the dough into small balls (about the size of a walnut).
  5. Add Dumplings to Stew:
    • Place the dumplings on top of the simmering stew. Make sure they’re spaced apart.
    • Cover and cook for another 20 minutes, or until the dumplings are well risen and fluffy.
  6. Final Touches:
    • Check the seasoning of the stew and adjust if necessary.
    • Remove bay leaves before serving.
  7. Serve:
    • Ladle the beef stew into bowls and top each with a couple of dumplings.
    • Serve hot and enjoy the rich, comforting flavors.

This classic beef stew and dumplings recipe is perfect for a chilly evening, providing warmth and satisfaction in every bite.

Making Sourdough Bread

Making Sourdough Bread

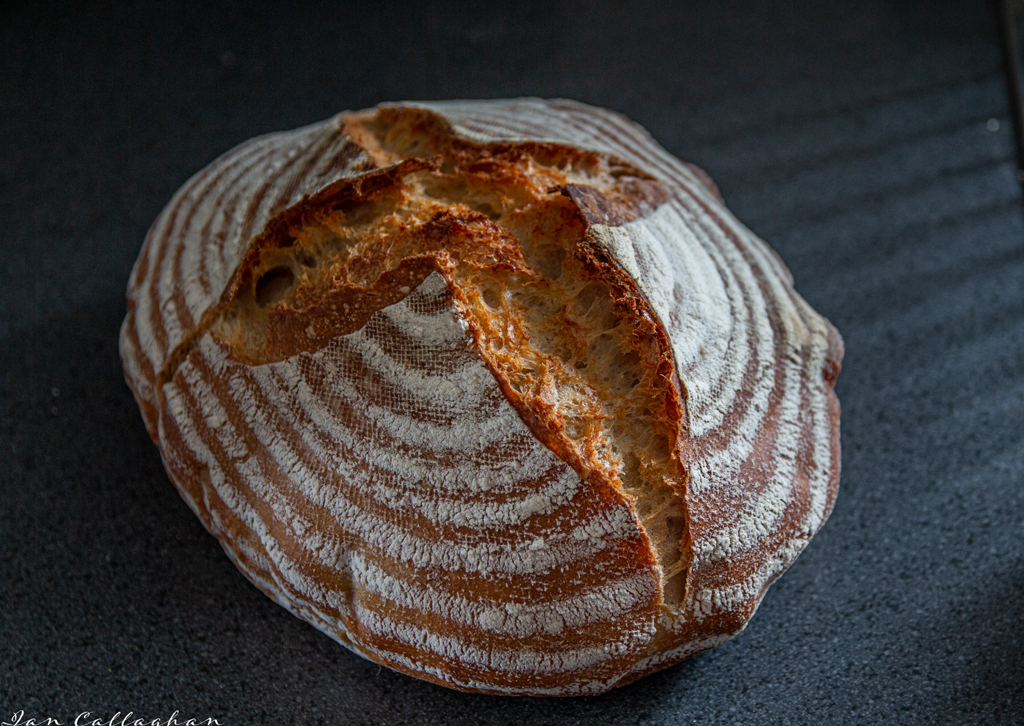
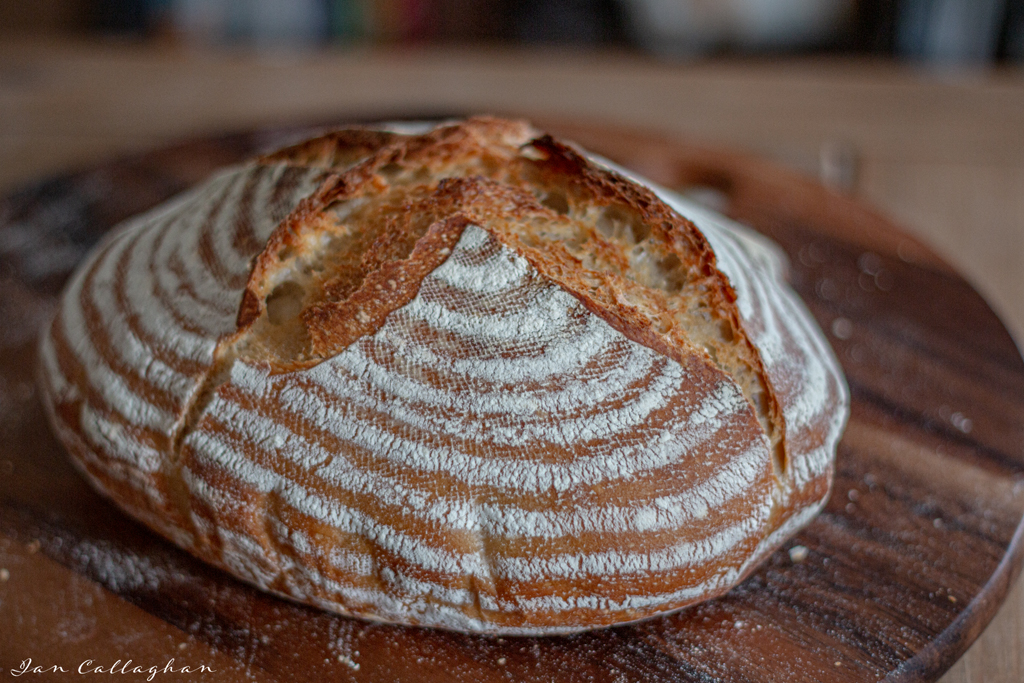
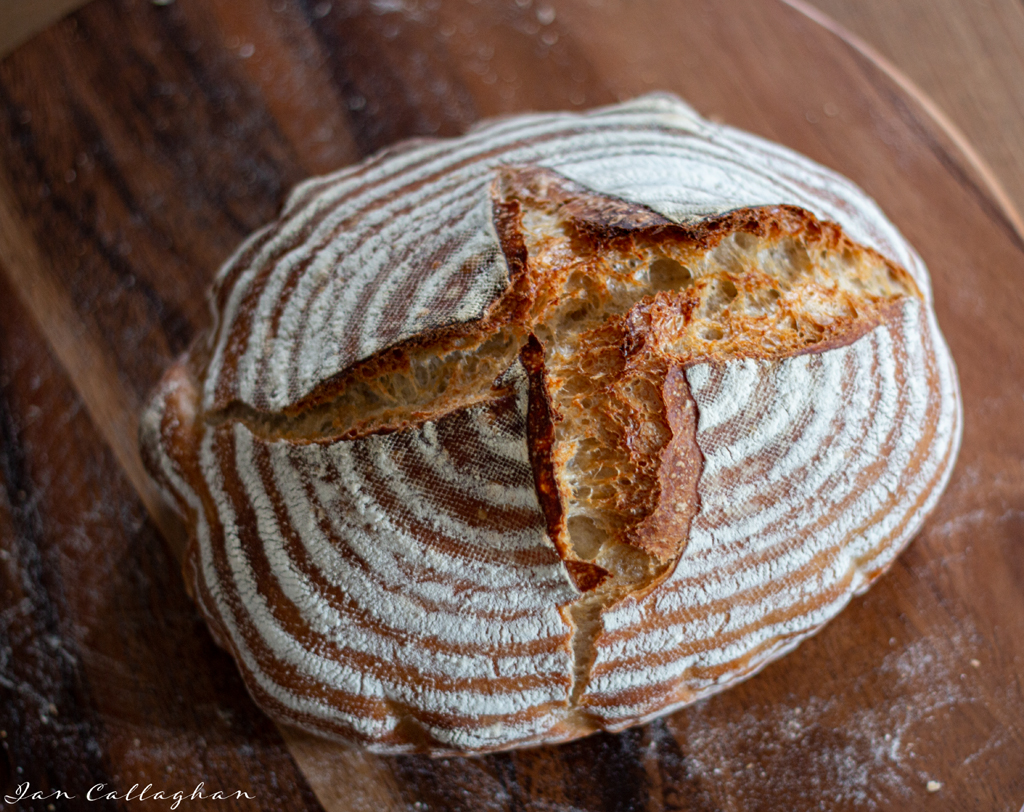
Bread the staff of life, Sourdough is the oldest form of leavened bread and was used at least as early as ancient Egypt. It was probably discovered by accident when bread dough was left out and good microorganisms wild yeast drifted into the mix. The resulting bread had a lighter texture and better taste.

Sourdough bread is made by the fermentation of dough using naturally occurring lactobacilli and yeast. It uses biological leavening rather than using cultivated baker’s yeast. The lactic acid produced by the lactobacilli gives it a more sour taste and improved keeping qualities.

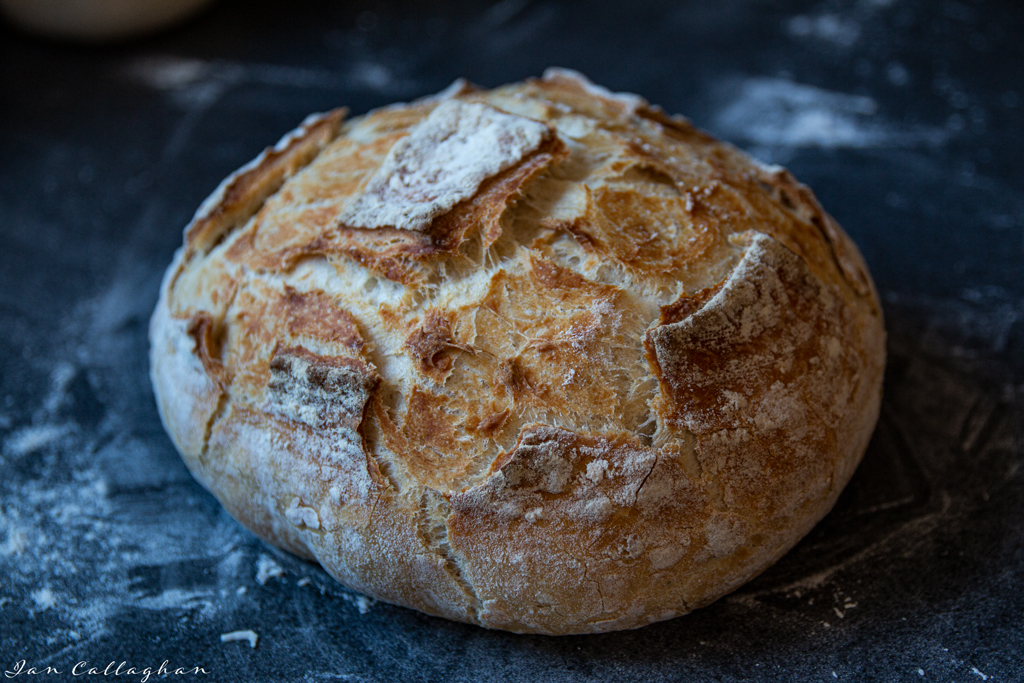
sourdough bread
Sourdough Bread

The secret is a good starter, you can buy starters online. I am in the process of making jars of starter from mine to sell. You can of course make your own after all it is just flour and water, which like all living things you have to feed, I shall do a post on making and looking after a starter shortly.

So below is how I make my bread.

INGREDIENTS
  • 50 – 100 g (1⁄4 – 1/2 cup) bubbly, active starter.
  • 375 g (1 1/2 cups plus 1 tbsp) warm water
  • 500 g (4 cups plus 2 tbsp) bread flour
  • 9 to 11 g (1.5 – 2 teaspoons) fine sea salt
INSTRUCTIONS
  1. Make the dough: In the evening, whisk the starter and water together in a large bowl with a fork or spatula. Add the flour and salt. Mix to combine, finishing by hand if necessary to form a rough dough. Cover with a damp towel and let rest for 30 minutes. 
  2. Stretch and fold. After half an hour, take a corner of the dough and pull it up and into the centre. Turn the bowl a quarter turn, repeat until you’ve performed this series of folds 4 to 5 times with the dough. Let dough rest for another 30 minutes and repeat the stretching and folding action. If you have the time: do this twice more for a total of 4 times in 2 hours.  
  3. Bulk Fermentation (first rise): Cover the bowl with a towel and let rise overnight at room temperature, about 8 to 10 hours. The dough is ready when it has doubled in size, has a few bubbles on the surface, and jiggles when you move the bowl from side to side. 
  4. Shaping: In the morning, coax the dough onto a lightly floured surface. Gently shape it into a round fold the top down to the centre, turn the dough, fold the top down to the centre, turn the dough; repeat until you’ve come full circle. If you have a bench scraper, use it to push and pull the dough to create tension.
  5. Resting: Let the dough rest seam side up rest for 30 minutes. Meanwhile, line an 8-inch (20-cm) bowl or proofing basket with a towel and dust with flour (preferably rice flour, which doesn’t burn or stick the way bread or plain flour does). Using a bench scraper or your hands, shape it again as described in step 4. Place the round into your lined bowl, seam side up.
  6. Proof (second rise): Cover the dough and refrigerate for 1 hour or for as long as 48 hours. 
  7. Place a cast-iron dutch oven in your oven, and preheat your oven to 290°C or as hot as your oven will go. Cut a piece of parchment to fit the size of your baking pot.
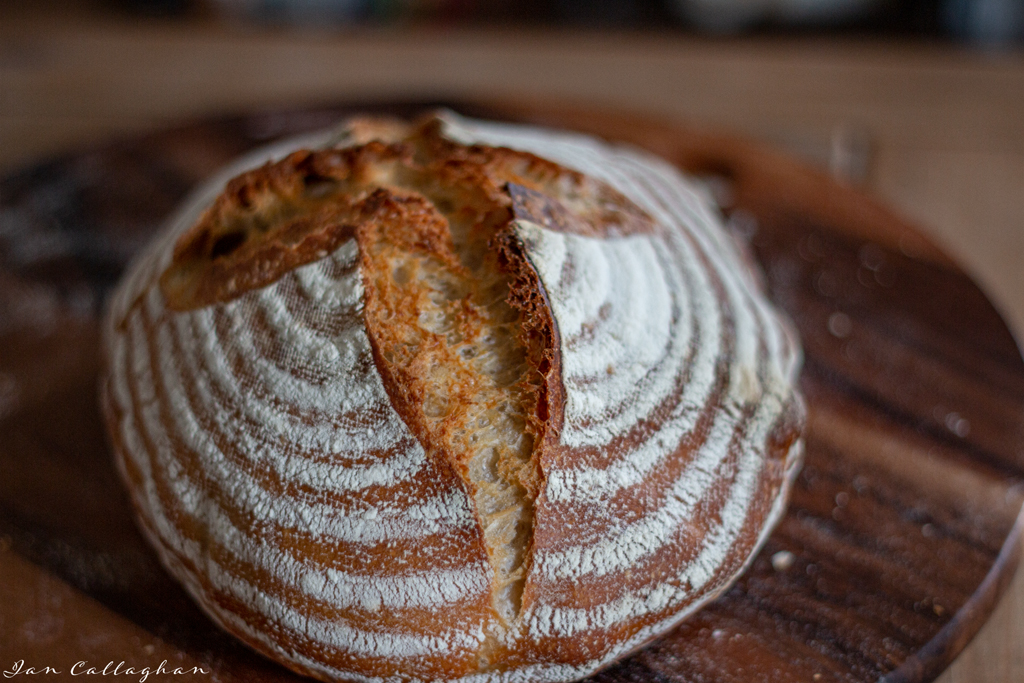
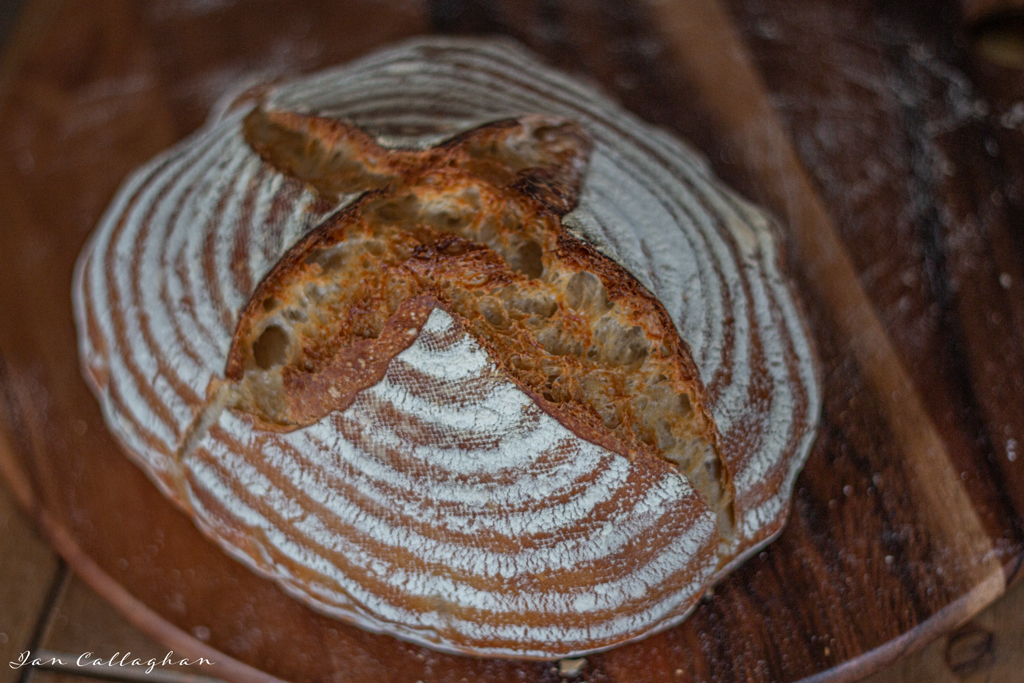
  8. Score: Place the parchment over the dough and invert the bowl to release. Using the tip of a small knife or a razor blade, I use a Stanley knife blade, score your dough however you wish — a simple “X” is nice. Use the parchment to carefully transfer the dough into the preheated baking pot.
  9. Cook: Carefully cover the pot, close the oven, and reduce the heat to 230°C. Cook the dough for 30 minutes, covered. Remove the lid, lower the temperature to 200ºC and continue to bake for 10 – 15 minutes more. If necessary, lift the loaf out of the pot, and bake directly on the oven rack for the last 5 to 10 minutes. Cool on a wire rack for 1 hour before slicing.

So there we have the basics of making sourdough bread, I am going to do videos to show the shaping process, the lift and fold etc as well as making your own starter.

Four chillies chilli

Four chillies chilli

There are about 4,000 varieties of chilli in the world. This is my four chillies chilli, the chillies I use in this recipe are cascabel, chipotle, ancho and jalapeno. I have used this recipe for a number of years it was the chilli sauce I used when I did chilli dogs at food festivals. I use it in the smoker doing a low and slow with flank and shin that has an amazing depth of flavour from the low slow-smoked cooking. Does great nachos as well, a dish that used to go down really well when I did pop-ups. Although it has four chillies in it is not a fiery blow your head off chilli but more depth of flavour with that nice heat kick to it.

Ingredients:

800g minced beef

1 tbsp olive oil

2 onions

2 cascabel chilli

4 jalapenos

2 ancho chilli

2 chipotle chilli

1 tbsp smoked paprika (I like piquant)

Half a bulb of smoked garlic

1 tbsp oregano or mixed herbs

8 squares dark chocolate (85 %)

400g tin chopped tomatoes

400g tin kidney beans

300ml beer (your choice stout works well as does an IPA)

Beef stock cube or stock pot

Salt & pepper

Method:

Place the dried chillies, ancho, cascabel, chipotle in a bowl and cover with hot water to rehydrate. While they are rehydrating dice the onion and finely chop the garlic. Saute the onion and once it has taken on some colour add the garlic. In a blender add the tomatoes, herbs and the now rehydrated chillies. Saute off the minced beef until browned add the beer and the sauce mix. Bring to a simmer and then add the drained kidney beans and the broken up dark chocolate. Season with salt and pepper to taste. If you were using a stewing steak, flank, shin or brisket you would make the sauce add the meat then slow cook for 3-4 hours, of course, you could do it in your slow cooker.

I am not one for sour cream and all the other stuff you see served with it but I do like to add extra candied jalapenos to garnish, that and I may be slightly addicted to them as well, I get mine from a good friend at The Preservation Society

four chillies chilli

Served with just a plain boiled basmati rice. So there you have my chilli recipe or rather my four chillies chilli.

Fried Chicken

Fried Chicken

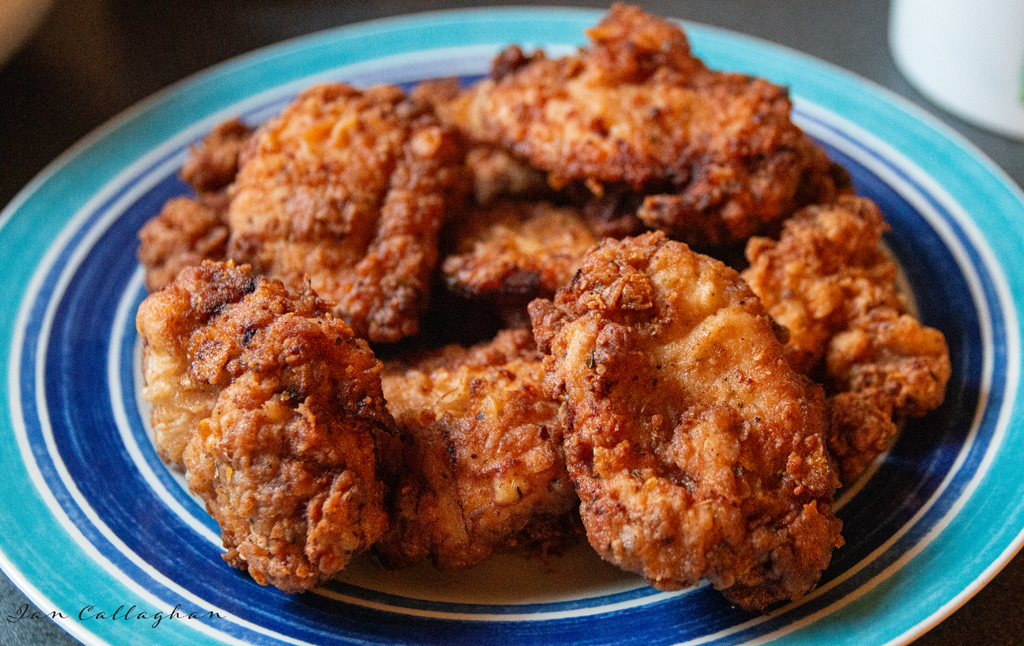
I have never been a fast-food fan as such but I did enjoy fried chicken until I discovered the source of the chicken used. Now there are only two places I eat fried chicken and that is from my kitchen or my friend’s food truck Dirty Bird fried chicken

There are two secrets to having the perfect fried chicken, brine the bird and marinate in buttermilk. The choice of your seasoning in your flour dredge is up to you, I doubt mine are ever the same, sometimes spicy other times herby depending on my mood. The recipe for this one is below.

Recipe:

600g boneless chicken thighs

Spice mix

2 tbsp smoked paprika

1 tsp onion granules

2 tbsp mixed herbs ( oregano, thyme, parsley)

1 tsp garlic granules

1 tsp chilli powder

salt and pepper (sea salt fresh cracked black pepper)

Marinate:

5% brine ( for a litre of water 50g of salt dissolved) you can add to the brine with things like bay, pickling spices, citrus peel etc

300 ml buttermilk (if you can’t get buttermilk you can use whole milk and add cider vinegar for 300ml of milk add about a tablespoon of cider vinegar)

Dredge:

100g self raising flour

100g cornflour

You can use rice flour or even get some cornflakes and crush to a flour like consistency.

Method:

Make your brine by dissolving the salt in water, place the chicken thighs in the cooled brine for 4-6 hours. Remove from brine and pat dry with kitchen paper. Place the chicken in a container cover with the buttermilk and refrigerate overnight or for about 8 hours. The slightly acidic buttermilk helps tenderise the chicken by breaking down some of the proteins in the meat.

Mix the flours and most of the spice mix together, keep some of the spice mix back to mix with sea salt to season the chicken after cooking. Put the flour and spice mix in a bag this is the easiest and least messy way to dredge the chicken.

Frying:

Heat your oil to 170c personally I use beef dripping for my frying as I do not use highly processed vegetable oils. If I were to use a vegetable oil it would be a UK cold-pressed rapeseed oil. Cook the chicken in batches of about three pieces depending on the size of your fryer or pan. Deep fry for 8 minutes as with all my meat cooking I use a meat probe and cook to an internal temperature of 74c. As each batch is cooked I put on a rack and put in the oven at about 50c to keep warm but not continue cooking.

Fried chicken
Crispy fried chicken

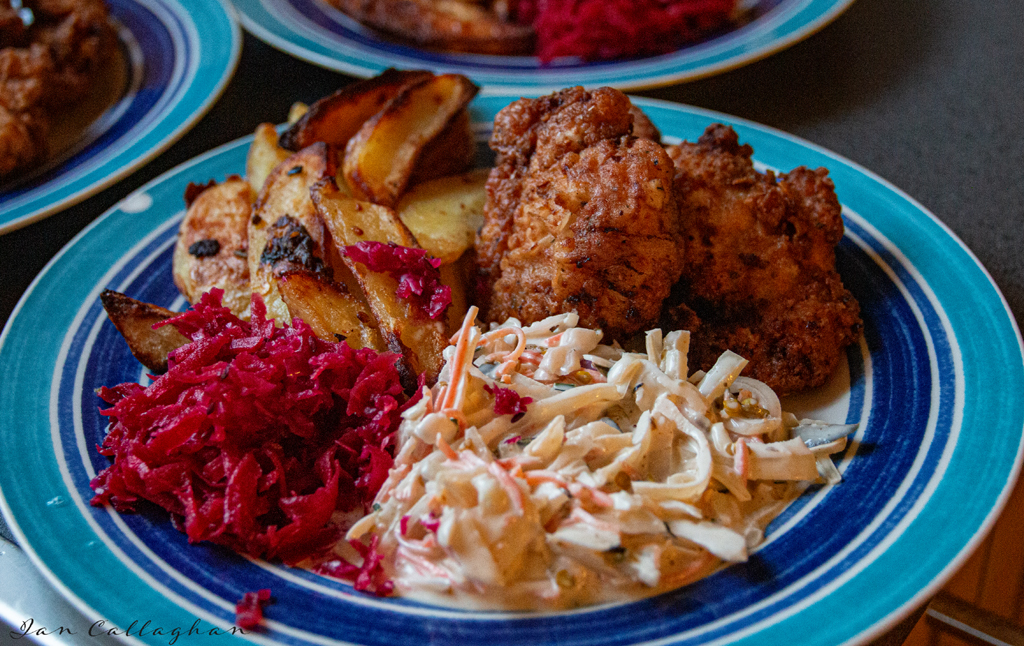
With this one, I did a spiced slaw using candied jalapenos from my good friend Rag who owns The Preservation Society. To say they are the best cowboy candies ever is an understatement and I truly am addicted to them. Chunky potato wedges seasoned with my chilli spice mix salt and pepper and roasted. Along with that was a side of my sauerkraut, I eat this with almost every meal I have.

So there you have my take on fried chicken hope you enjoy making it, get the kids involved and have fun.

fried chcicken
Fried chicken

Lamb Keema

Lamb Keema

Lamb Keema curry is a traditional, spiced curry that blends flavours of garlic, chilli, cumin, cinnamon, cardamom and coriander to create a dish full of flavour and aroma. I saw one of my favourite Indian chefs Cyrus Todiwala cook Keema at the Abergavenny food festival a few years back with Ffion when he signed his book to her. That day Cyrus cooked Kheema ghotala curried minced meat scrambled with egg.

Keema is quick, simple and nutritious meal

Ingredients

2 Onions diced

1 Tbsp Oil (I used ghee)

500g minced lamb (you can use beef) I always use grass fed.

inch of ginger

4 garlic cloves

2 green chillis

1 tbsp garam masala ( contains cumin, coriander, cloves, cardamom seeds, Kashmir chillis, turmeric)

150g frozen peas

80g lentils

400g tin chopped tomatoes

Method

Heat the oil and saute the diced onion, garlic, ginger and green chillis. Add the spice mix and cook for a further 5 minutes, add the minced lamb and cook for about 7-8 minutes until coloured. Stir in the lentils and chopped tomatoes and simmer for around 15 minutes until the lentils are almost cooked if the sauce drys add some water. Add the frozen peas and heat through.

Lamb Keema
Lamb Keema

Serve with pilau rice, Naan bread or parathas, minted yoghurt and fresh coriander leaves to garnish.

As with the majority of my cooking there will always be loads leftover and that is the case with the keema. I will be using what is left to make a spicy shepherds pie, I may do a swede and carrot mash topping rather than the normal potato one.

Roast Haunch of Venison

Roast Haunch of Venison

It is not often I get a roast haunch of venison. When a neighbour posted on Facebook that he had some cuts of venison if anybody was interested. I had a haunch of roe deer off Neil and had already made up in my mind how I would cook this fantastic cut of meat. An overnight marinade of garlic, rosemary, juniper, lemon zest and olive oil, salt and sea salt seasoning. The aromatics that used were smashed in the pestle and mortar and the olive oil added. The haunch had a few light slashes to it the marinade well rubbed over and wrapped in clingfilm and put in the fridge to take on the flavours.

Marinade

3 cloves garlic

3 good sprigs of rosemary

zest of one lemon

A dozen juniper berries

Good pinch of sea salt

Cracked black pepper

Good glug of olive oil ( you don’t need your best extra virgin )

Cooking

Pre-heat oven to 220C, 450F, Gas Mark 8. Place the joint in a heavy roasting pan on a trivet of carrots, onions and celery, leave the skin on the onions. Cook for 20 minutes if the joint is under 2kg and 30 minutes if over 2kg. Reduce heat after the allotted time to 150C, 300F, Gas Mark 2 and cook for 12 minutes per 500g for medium-rare. 15 minutes per 500g for medium. I always cook to temp not times and use a thermapen and for medium-rare which is the perfect cook, you want an internal temp of 56c, 130f.

After it reached the desired temperature the secret is to rest the meat. Generally for around the same length of time as you cooked it. This allows the joint to rest and all those meat juices to spread through the joint giving you tender meat.

Served with the roast haunch of venison were horseradish mashed potatoes, roast potatoes done in beef dripping, honey roast parsnips, cauliflower, peas and rich roast gravy. The heat of the horseradish goes really well with venison and the sweetness of the parsnips rounds it off.

roast haunch of venison
Roast Haunch of Venison

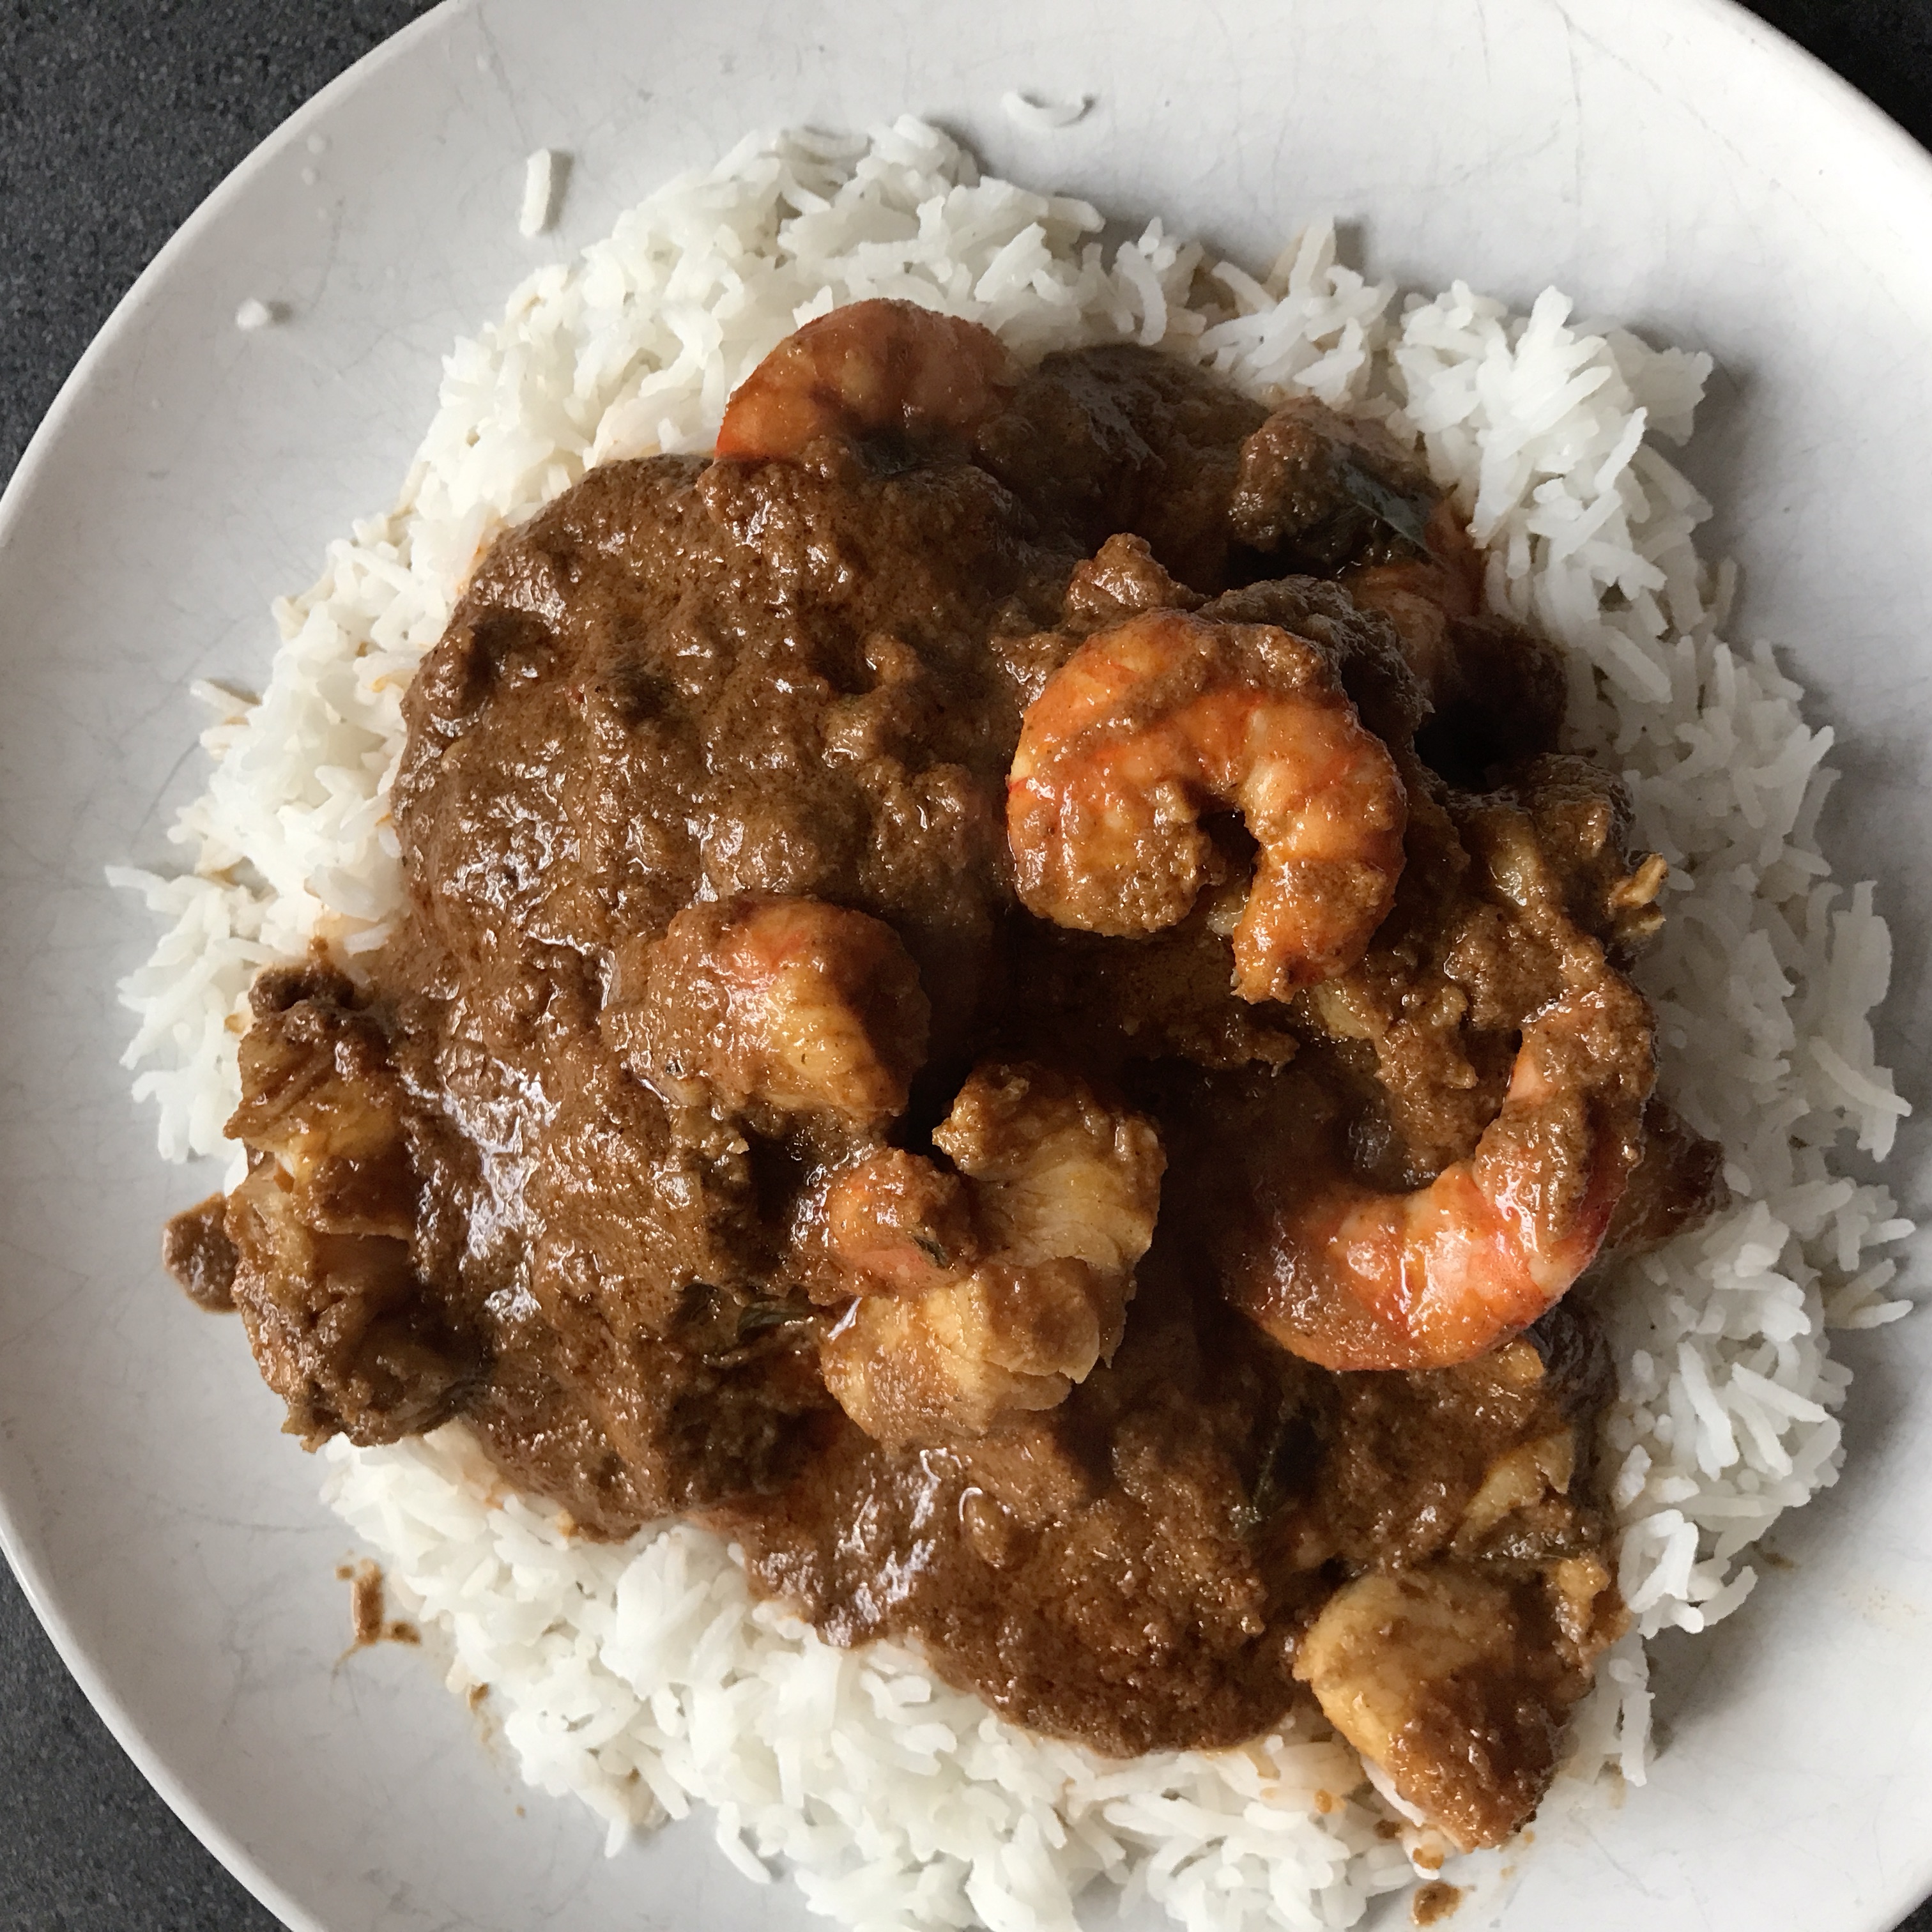
I used the leftovers from the roast to make a shepherds pie and a madras curry.

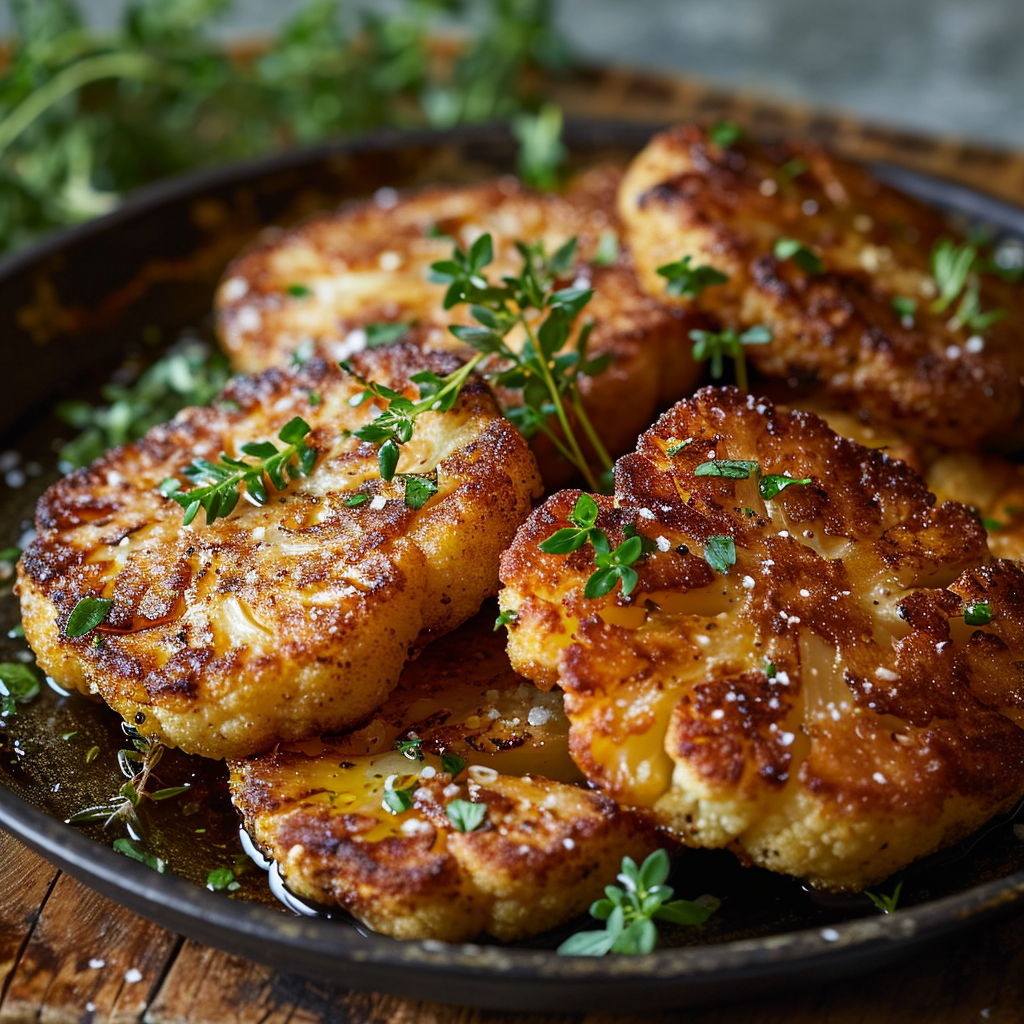
Pan-fried Cauliflower Steak

Pan-Fried Cauliflower Steak

Pan-Fried Cauliflower Steak Recipe

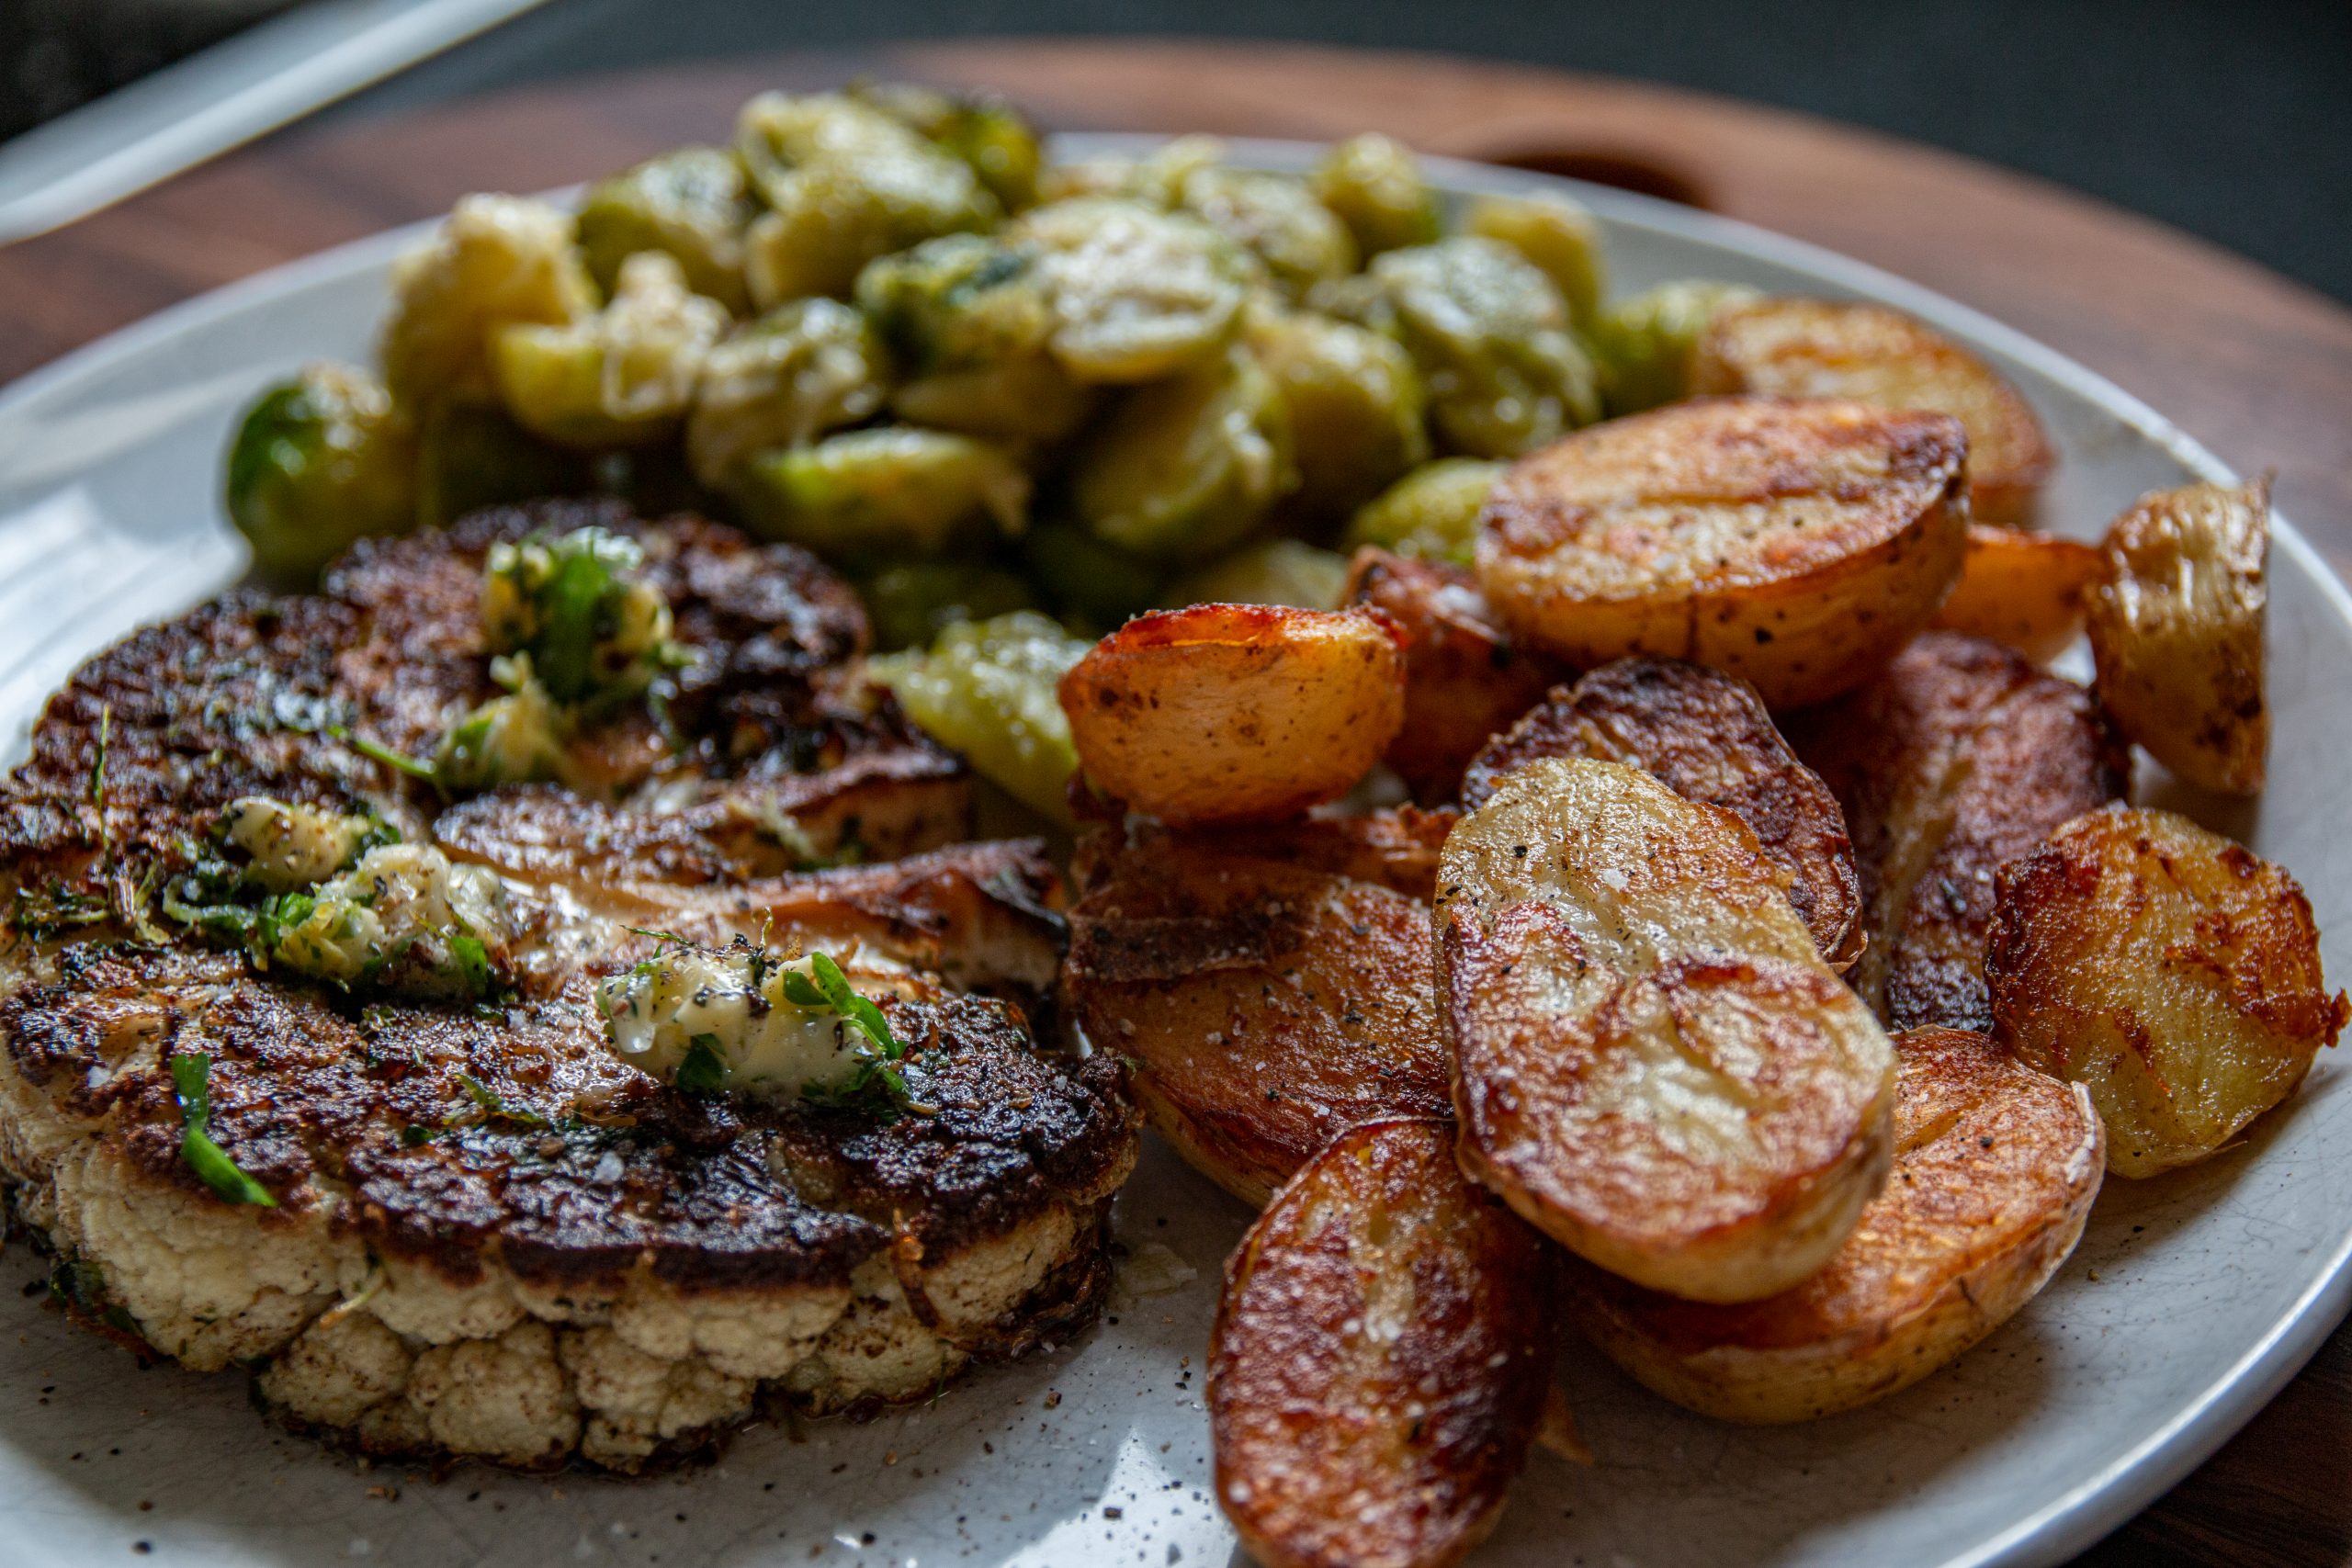
This pan-fried cauliflower steak recipe is a delicious and hearty vegetarian option that packs a punch of flavor. It’s a simple, yet impressive way to transform cauliflower into a main dish.

Ingredients:

  • 1 large head of cauliflower
  • 3 tablespoons olive oil
  • Salt and freshly ground black pepper, to taste
  • Optional seasonings: garlic powder, smoked paprika, or a sprinkle of Parmesan cheese
  • Fresh herbs for garnish (such as parsley or thyme)

Instructions:

  1. Prepare the Cauliflower:
    • Remove the leaves from the cauliflower and trim the stem, leaving the core intact.
    • Place the cauliflower on its base and slice it into 1 to 1.5-inch thick steaks. Depending on the size of your cauliflower, you can get about 2 to 4 steaks. Use the remaining florets for another recipe.
  2. Season the Steaks:
    • Brush both sides of each cauliflower steak with olive oil.
    • Season generously with salt, pepper, and any additional spices like garlic powder or smoked paprika.
  3. Pan-Fry the Steaks:
    • Heat a large frying pan over medium heat. Add a tablespoon of olive oil.
    • Once the oil is hot, place the cauliflower steaks in the pan. Work in batches if necessary to avoid overcrowding.
    • Cook for about 5 to 6 minutes on each side, or until they are golden brown and tender. Be gentle when flipping to keep the steaks intact.
  4. Add Finishing Touches:
    • For added flavor, sprinkle some Parmesan cheese over the steaks during the last few minutes of cooking.
    • If you prefer, you can also add a splash of lemon juice for a zesty finish.
  5. Serve:
    • Transfer the cauliflower steaks to a serving plate.
    • Garnish with fresh herbs like parsley or thyme.
    • Serve hot as a main course or a substantial side dish. They pair beautifully with a variety of sauces or grains like quinoa or couscous.
  6. Enjoy:
    • Enjoy your flavorful and nutritious pan-fried cauliflower steaks, a delightful vegetarian dish that’s sure to impress!

This recipe offers a great way to enjoy cauliflower in a creative and appetizing form, perfect for those looking to incorporate more vegetables into their meals.

cauliflower steak

Homemade Burgers

Homemade Burgers

Everyone loves a burger and in my opinion, you can’t beat homemade burgers. When you make your own burgers you know exactly what’s going into it no lips. dicks and hoof. When making your own burgers go to your local butcher and ask for 80/20 minced steak, my preference on cuts are chuck, brisket, short rib and shin. If you are going to cook your burger over medium I would up the fat content to 30% this will ensure the burger does not dry out. As for size, I would go around the 3rd of a pound if you are looking to cook it rare to medium-rare, I see no point making the burgers bigger than that. You can mix up your blend by adding other stuff to the mix, from bacon which adds a smokiness to it to cheese.

Shaping

When shaping the burgers do not overwork or slap it about too much as this makes the meat and muscle fibre stick together this is not a good thing. I use a burger press for shaping, simply weigh out your mix place in press and shape, you know all your burgers are then the same weight, size and thickness so will all cook at the same time. As with any meat remove from the fridge half hour before cooking to bring up to room temperature.

Seasoning

There is no need to get complicated with seasoning if you have used good quality grass-fed, dry-aged steak all you need is sea salt and cracked black pepper. As for buns, my personal favourite is potato bread rolls, the best I have ever had are from Alex Gooch, I do also make my own and will share my recipe in another post. Condiments, what you have is down to preference I like to make my own relish with a mix of my homemade fermented dill pickles, ketchup and mayo sometimes adding candied jalapenos from my very good friend (aka my dealer) Rag Underwood at The Preservation Society

Homemade Burgers
Homemade burgers

So there you have my homemade burgers, you can of course go naked burger and ditch the bun as pictured below. I would say that the majority of times I now have a homemade burger it is bunless.

naked burger

Nan’s Rice Pudding

Nan’s Rice Pudding

Growing up I spent a lot of time cooking with my Nan and one of my favourites was Nan’s rice pudding. I do not think there is a better comfort food pudding, creamy, unctuous moreish, the smell of the nutmeg as it cooks and then the skin off the top. This is my Nan’s recipe as best I can remember it after all its been a long time since I cooked with my Nan. It has to be full-fat milk and double cream. I used Jersey gold top in this version of my Nan’s rice pudding.

Ingredients
  • 40g butter
  • 100g pudding rice 
  • 75g caster sugar
  • 1-litre full-fat milk
  • 150ml double cream
  • 1 tsp vanilla extract or ½ vanilla pod, split lengthways
  • pinch salt
  • plenty freshly grated nutmeg
Method
  1. Preheat the oven to 140C/285F/Gas 1.
  2. Melt the butter in a heavy-based casserole dish over medium heat. Add the rice and stir to coat. Add the sugar, stirring until dissolved. Continue stirring until the rice swells and becomes sticky with sugar.
  3. Pour in the milk and keep stirring until no lumps remain. Add the cream and vanilla and bring the mixture to a simmer. Once this is reached, give the mixture a final stir and grate at least a third of a nutmeg over the surface. Bake for 1-1½ hours and cover with foil if the surfaces browns too quickly.
  4. Once there is a thin, tarpaulin-like skin on the surface, and the pudding only just wobbles in the centre, it is ready. Serve at room temperature.
Nan's rice pudding
Nan’s Rice Pudding

I see no need to mess with a classic dish by adding fruit etc, just have it as it is and let it bring back those childhood memories, As I was writing this sat at the kitchen table that nutmeg aroma filled the air and took me back to my Nan’s house as a child.

error: Content is protected !!